How To Capture Network Traffic With Tcpdump
Tcpdump is a free and open-source command-line utility that can be used to capture the incoming and outgoing network traffic from your system. It is also known as a packet sniffer and very useful to troubleshoot network related issues. It also allows you to save these captured packets into a file for later use.
It has an ability to use filters with the command to capture only the data that you want to analyze.
It supports on all Linux-based based operating systems including, RHEL/CentOS, Debian, Ubuntu, Fedora and many more.
In this tutorial, we will show you how to capture packets using Tcpdump on Linux with some examples.
How to install Tcpdump
By default, Tcpdump is available in all Linux-based operating systems. If not installed, you can install it with the following command:
apt-get install tcpdump -y
Once installed, you can verify the installed version of Tcpdump with the following command:
tcpdump --version
You should see the following output:
tcpdump version 4.9.2
libpcap version 1.5.3
OpenSSL 1.0.1f 6 Jan 2014
You can display all the options available with Tcpdump command with the following command:
tcpdump –help
You should see the following screen: 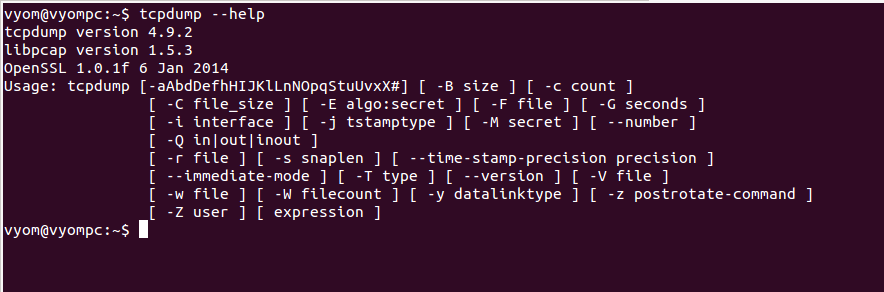 Basic Syntax
The basic syntax of the Tcpdump command is shown below:
tcpdump [option]
A brief explanation of each option is shown below:
-c : Used to capture the specified number of packets.
-i : Used to capture the packets on a specific interface.
-n : Used to disable the hostname resolution.
-S : Used to display sequence numbers in the output.
-w : Used to save the captured packets in to file.
-q : Used to display minimal protocol information.
-v : Used to increase the packet information.
List All Network Interface
You can list all available network interfaces in your system with the following command:
tcpdump -D
You should see the following output:
1.wlan0
2.bluetooth0 (Bluetooth adapter number 0)
3.nflog (Linux netfilter log (NFLOG) interface)
4.nfqueue (Linux netfilter queue (NFQUEUE) interface)
5.any (Pseudo-device that captures on all interfaces)
6.lo [Loopback]
Capture Packets from All Interface
To capture packets from all network interfaces, run the tcpdump command without any option as shown below:
tcpdump
You should see the following screen:
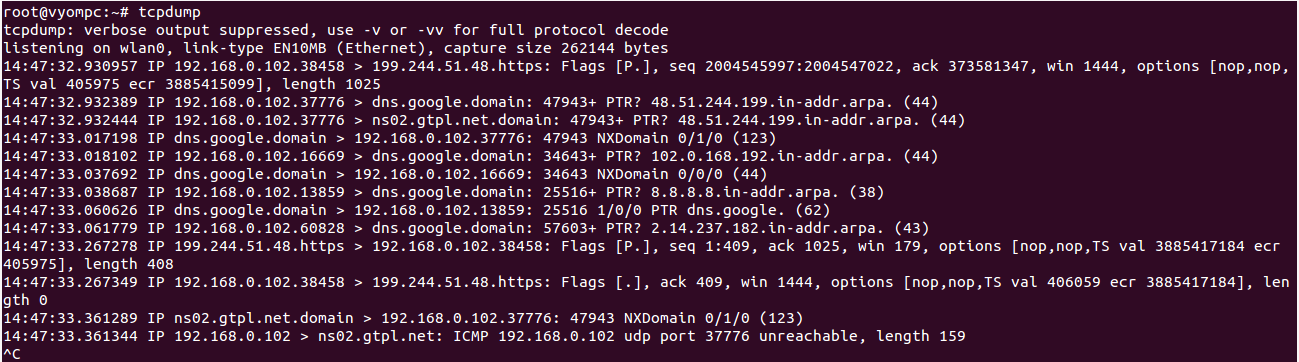
Press Ctrl+C to stop the process.
Capture Packets From a Specific Interface
To capture packets from a specific interface wlan0, run the following command:
tcpdump -i wlan0
You should see the following screen:

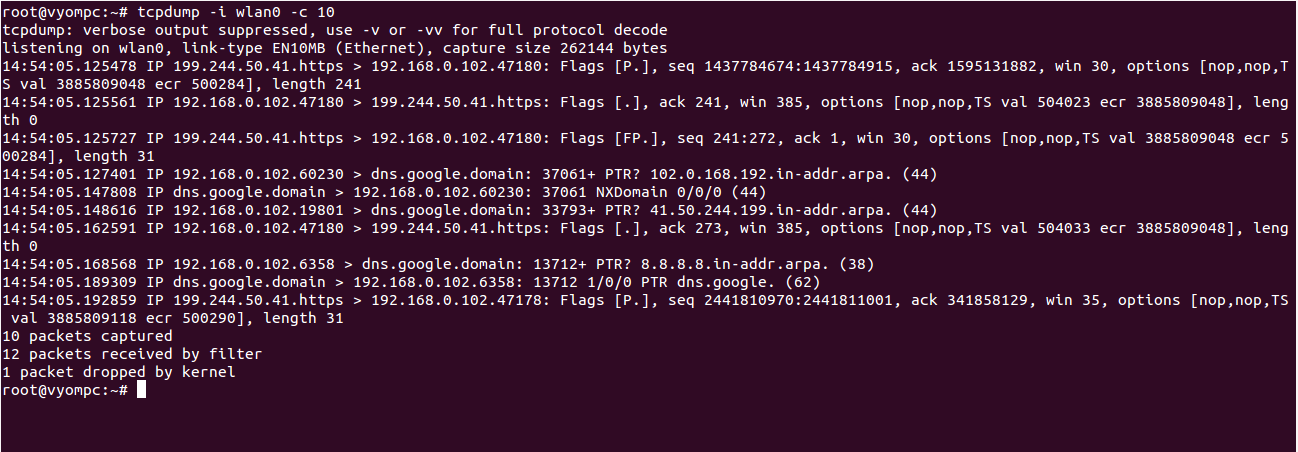
If you want to capture the specific number of packets from a specific interface use the -i (interface-name) and -c (number) options.
For example, capture 10 packets from the interface wlan0, run the following command:
tcpdump -i wlan0 -c 10
You should see the following screen:
To capture only TCP packets from a specific interface, run the following command:
tcpdump -i wlan0 -c 10 tcp
You should see the following screen:

Capture and Save Packets to a File
You can save the captured packets to a file using the -w option with tcpdump command. The basic syntax of this command is shown below:
tcpdump -w finename.pcap -i [interface name]
For example, if you want to capture the packets from interface wlan0 and save it to a file named wlan0.pcap, run the following command:
tcpdump -w wlan0.pcap -i wlan0
To capture and save only 100 packets, run the following command:
tcpdump -w wlan0.pcap -i wlan0 -c 100
You should see the following screen:

To capture and save packets whose size greater than 1024 bytes, run the following command:
tcpdump -w wlan0.pcap -i wlan0 greater 1024
To capture and save packets whose size less than 1024 bytes run, the following command:
tcpdump -w wlan0.pcap -i wlan0 less 1024
Read Captured Packets from a Saved File
You can read the captured packets from the saved file using the -r option with tcpdump command:
For example, read the packets from the file wlan0.pcap, run the following command:
tcpdump -r wlan0.pcap
You should see the following screen:
To read only 5 packets from the file wlan0.pcap, run the following command:
tcpdump -r wlan0.pcap -c 5
You should see the following screen:
Capture Only IP address And Port Packets
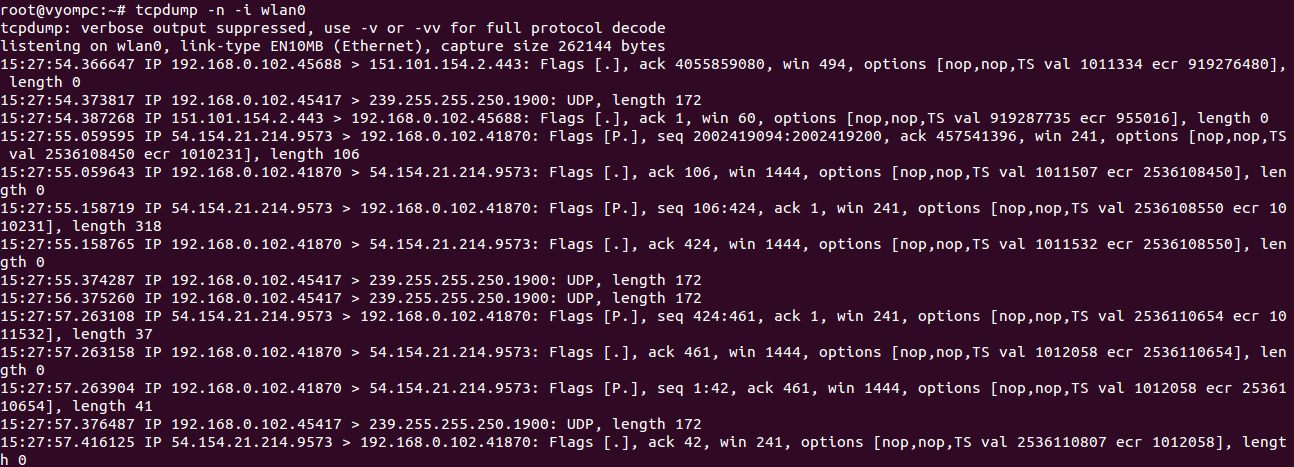
You can capture only IP address packets using the option -n with tcpdump command:
tcpdump -n -i wlan0
You should see the following screen:
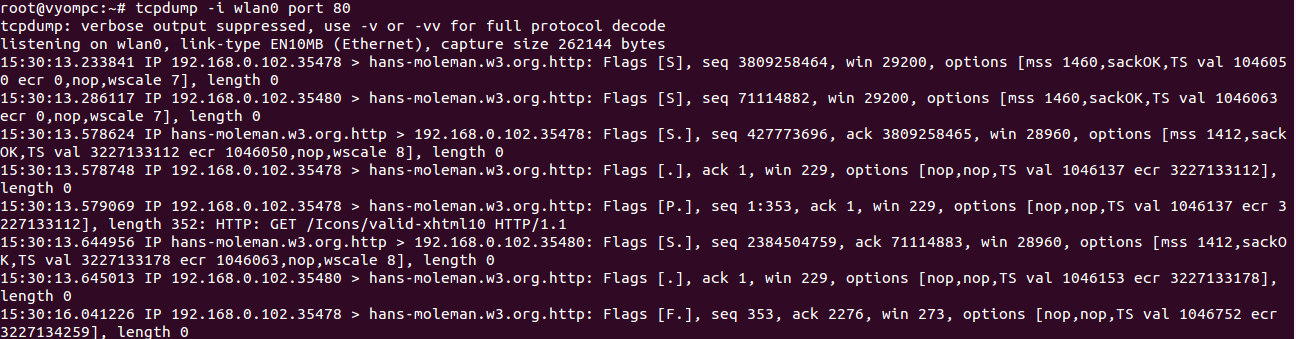
You can also capture the packets from a specific port (80) using the following command:
tcpdump -i wlan0 port 80
You should see the following screen:
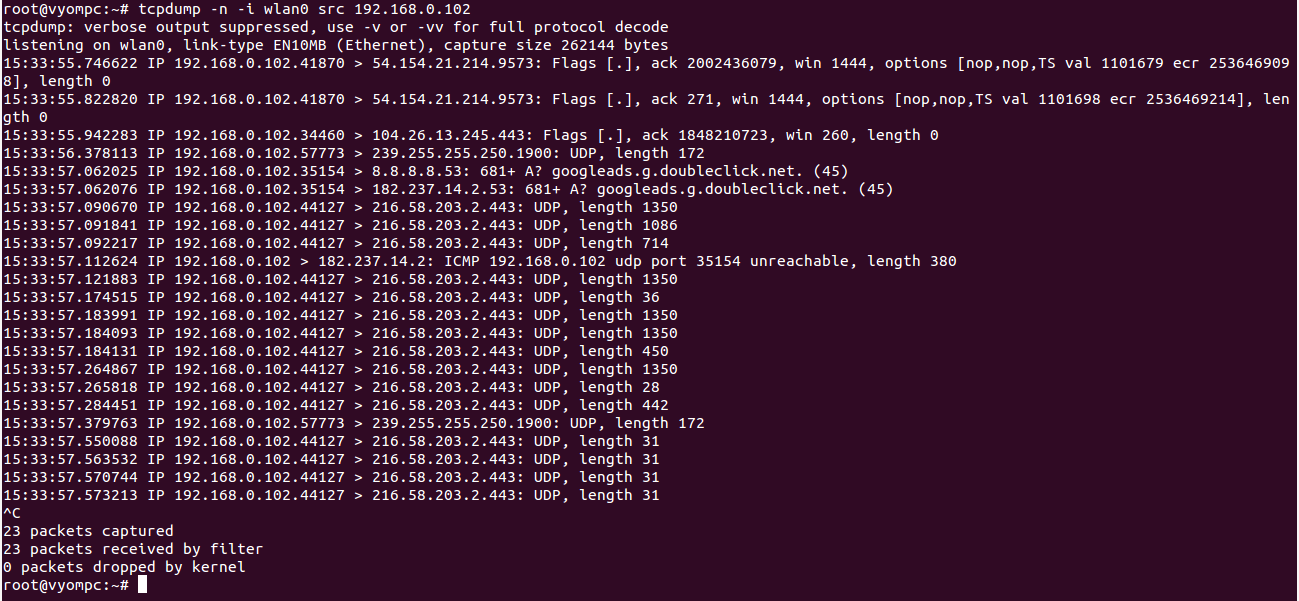
You can capture the packets from a specific source IP address with the following command:
tcpdump -n -i wlan0 src 192.168.0.102
You should see the following screen:
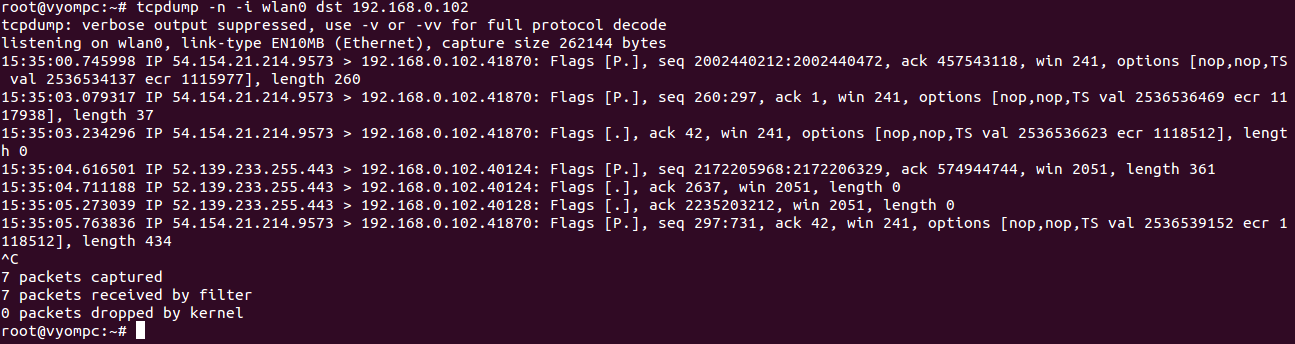
You can capture the packets from a specific destination IP address with the following command:
tcpdump -n -i wlan0 dst 192.168.0.102
You should see the following screen:
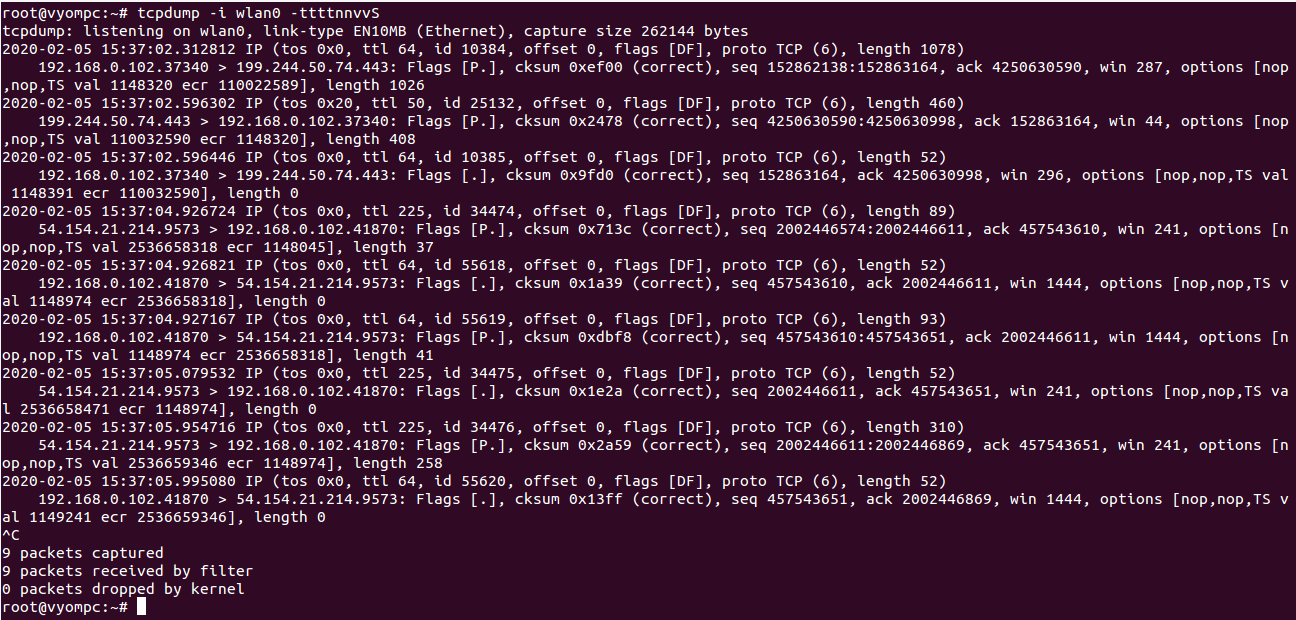
Capture Packets with More Information
You can also capture packets with detail information using -ttttnnvvS option as shown below:
tcpdump -i wlan0 -ttttnnvvS
Capture Packets Using Port Range
You can also capture the network packets using a range of ports.
For example, to capture packets on network interface wlan0 using the port range 80-85, run the following command:
tcpdump -i wlan0 -nns 0 portrange 80-85
You should see the following screen:

Capture Packets on HTTP/HTTPS Port from a Specific IP Address
In some cases, you want to capture all HTTP traffic coming from a specific source IP address. For example, capture all HTTP traffic from a source IP address 192.168.0.102, run the following command:
tcpdump -n src 192.168.0.102 and tcp port 80
You can also capture all HTTP and HTTPS traffic coming from a specific source IP address using the following command:
tcpdump -n 'host 192.168.0.102 and (tcp port 80 or tcp port 443)'
Conclusion
In the above tutorial, you learned how to capture and analyze network traffic using Tcpdump. I hope you can now easily troubleshoot network related issues with Tcpdump.
Feel free to ask me if you have any questions.