How to Install OpenVAS Vulnerability Assessment System on Ubuntu 18.04
OpenVAS is an open-source Vulnerability Assessment System that can be used to run the test against servers for known vulnerabilities. It is the open-source version of Nessus that uses a database of over 28,00000 test plugins that helps to perform real-time vulnerability test.
OpenVAS is made up of several components like, Greenbone Security Assistant, OpenVAS Manager, OpenVAS Scanner, OpenVAS CLI and Scan Targets. Each component has its own features.
A brief explanation of each component is shown below:
- Greenbone Security Assistant : It provides a web-based interface to manage and administrator OpenVAS.
- OpenVAS Manager : It can be used to manage scanning operations and handles SQL database.
- OpenVAS CLI : It provides command-line interface to manage OpenVAS.
- OpenVAS Scanner : It is used to execute real-time vulnerability tests against target hosts.
Requirements
- A server running Ubuntu 18.04.
- Minimum 8 GB RAM and 2 Core CPU.
- A root password is configured on your server.
Install OpenVAS
By default, OpenVAS is not available in the Ubuntu 18.04 default repository. So you will need to add the PPA repository in your system.
Run the following command to add the OpenVAS PPA to your system.
add-apt-repository ppa:mrazavi/openvas
Once the repository has been added, you can install OpenVAS with SqQLite with the following command:
apt-get install openvas9 sqlite3 -y
During the OpenVAS installation, you will be asked to configure Redis Unix socket as shown below:
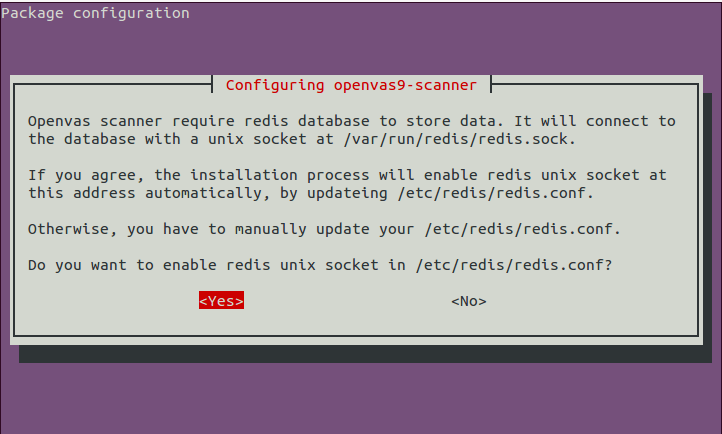
Select Yes and click Enter to finish the installation.
Next, you will also need to install some extra packages for PDF reporting. You can install them by running the following command:
apt-get install texlive-latex-extra --no-install-recommends -y
apt-get install texlive-fonts-recommended --no-install-recommends -y
apt-get install libopenvas9-dev -y
Once all the packages are installed, you can proceed to the next step.
Update the Vulnerability Tests Database
Next, you will need to update the Greenbone vulnerability tests database. You can update it with the following command:
greenbone-nvt-sync
greenbone-scapdata-sync
Output:
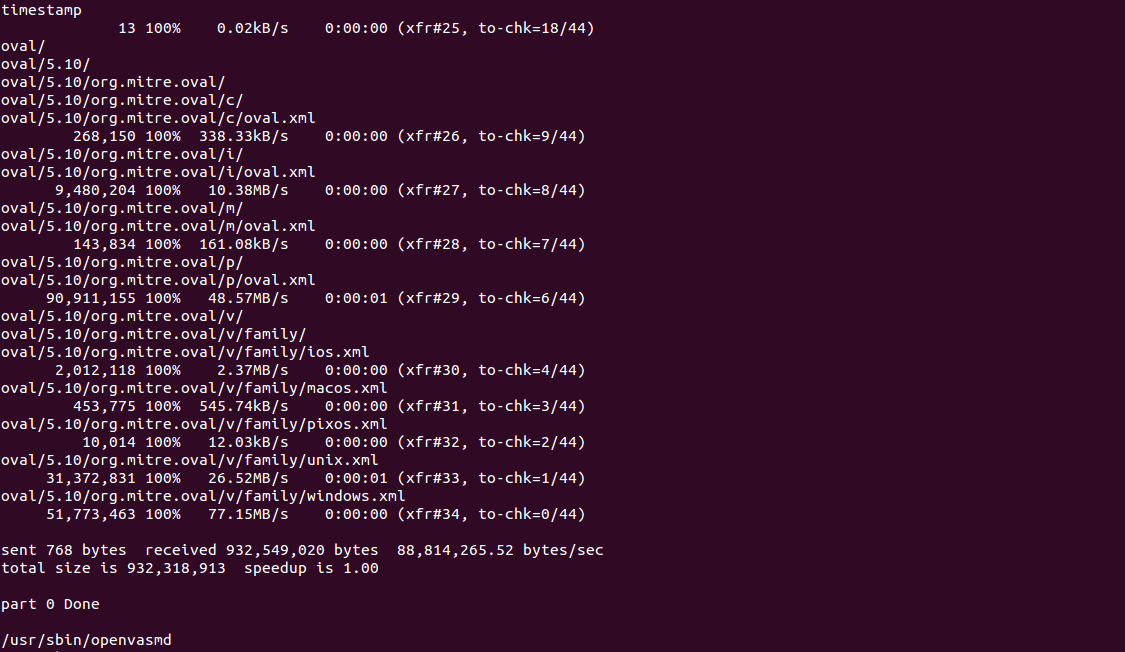
greenbone-certdata-sync
Output:
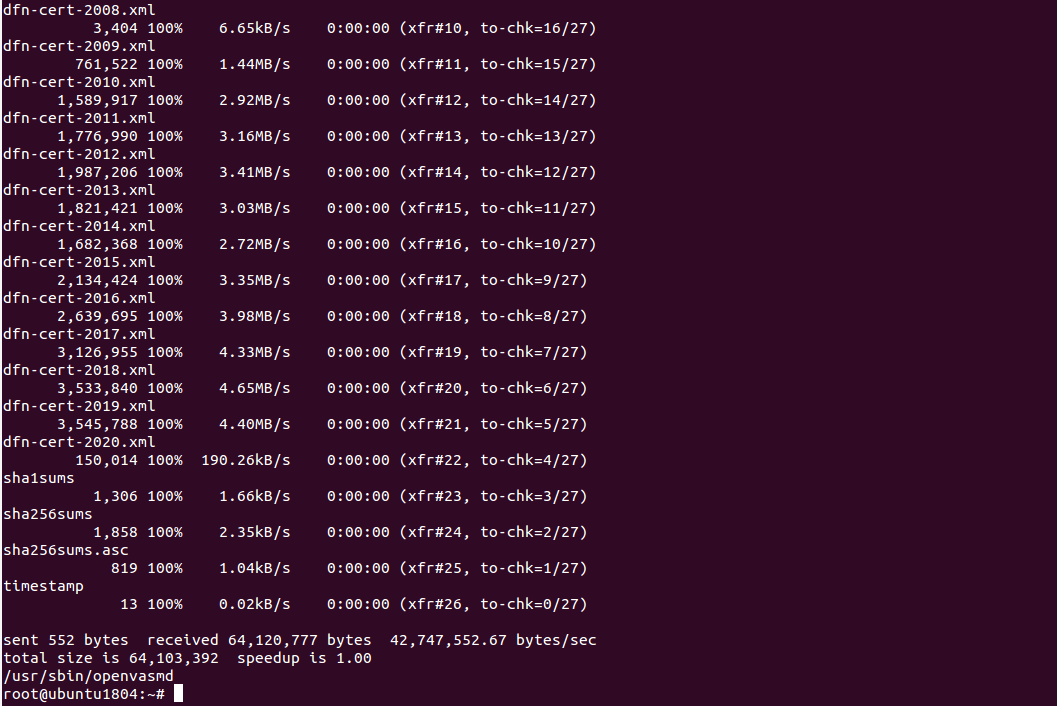
Finally, restart OpenVAS service and enable them to start after system reboot:
systemctl restart openvas-scanner
systemctl restart openvas-manager
systemctl restart openvas-gsa
systemctl enable openvas-scanner
systemctl enable openvas-manager
systemctl enable openvas-gsa
You can also check the OpenVAS processes with the following command:
ps -ef | grep openvas
Output:
root       3187      1 0 08:23 ?       00:00:00 gpg-agent --homedir /var/lib/openvas/openvasmd/gnupg --use-standard-socket --daemon
root       7762      1 0 08:37 ?       00:00:00 openvassd: Waiting for incoming connections
root       7782      1 0 08:37 ?       00:00:00 openvasmd
root       7833    459 0 08:38 pts/0   00:00:00 grep --color=auto openvas

Next, you will need to rebuild the NVTs cache to reload all synced feed into the manager. You can do it with the following command:
openvasmd --rebuild --progress
Access OpenVAS Web Interface
Before accessing the OpenVAS web interface. It is recommended to change the OpenVAS default admin password for security purposes. You can reset the OpenVAS admin password with the following command:
openvasmd --user=admin --new-password=your-password
Next, open your web browser and access the OpenVAS Web interface using the URL https://your-server-ip:4000. You will be redirected to the following page:
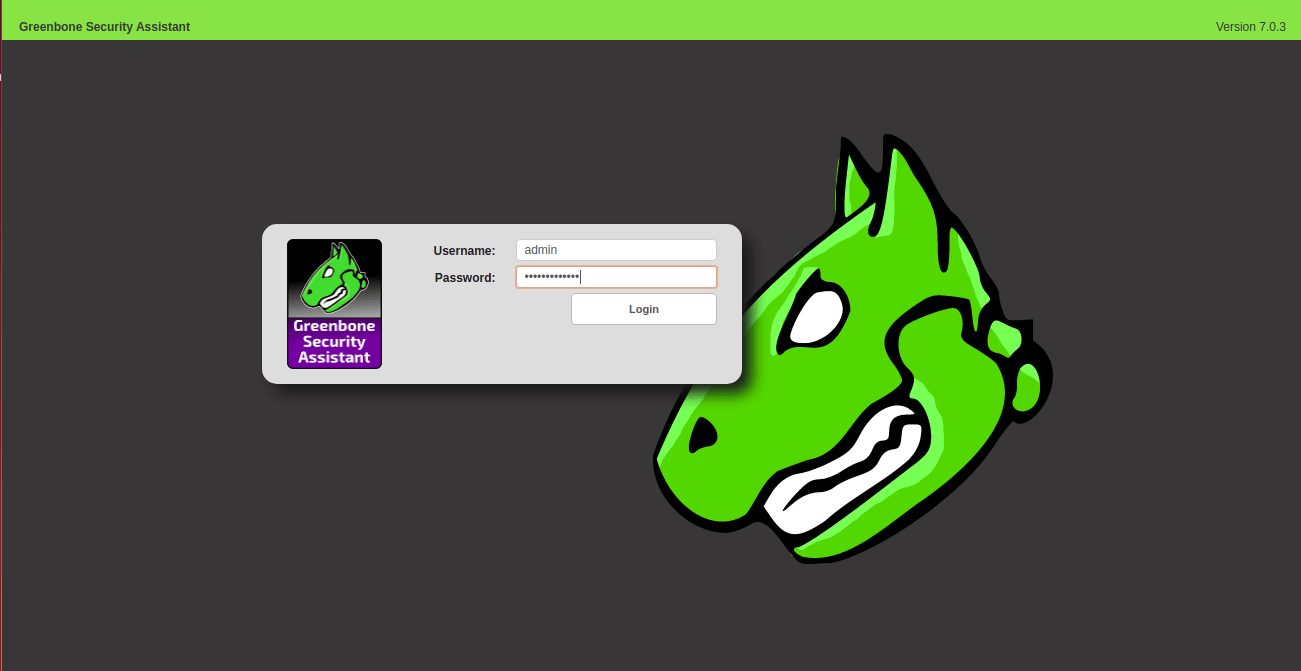
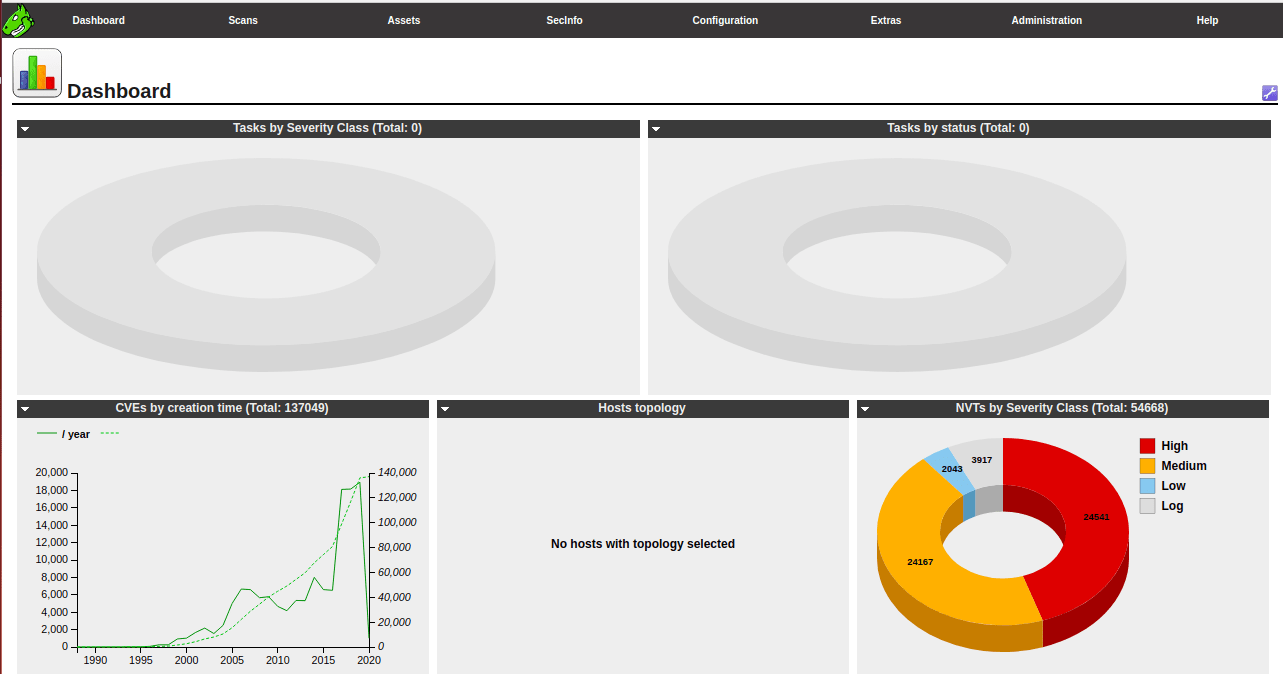
Provide your admin username, password and click on the Login button. You should see the OpenVAS default dashboard in the following page:
Scan Your First Target
OpenVAS is now installed and running properly. Now, it's time to create your first target and run the first security scan.
To create a target, click on the Configuration => Targets. You should see the following page:
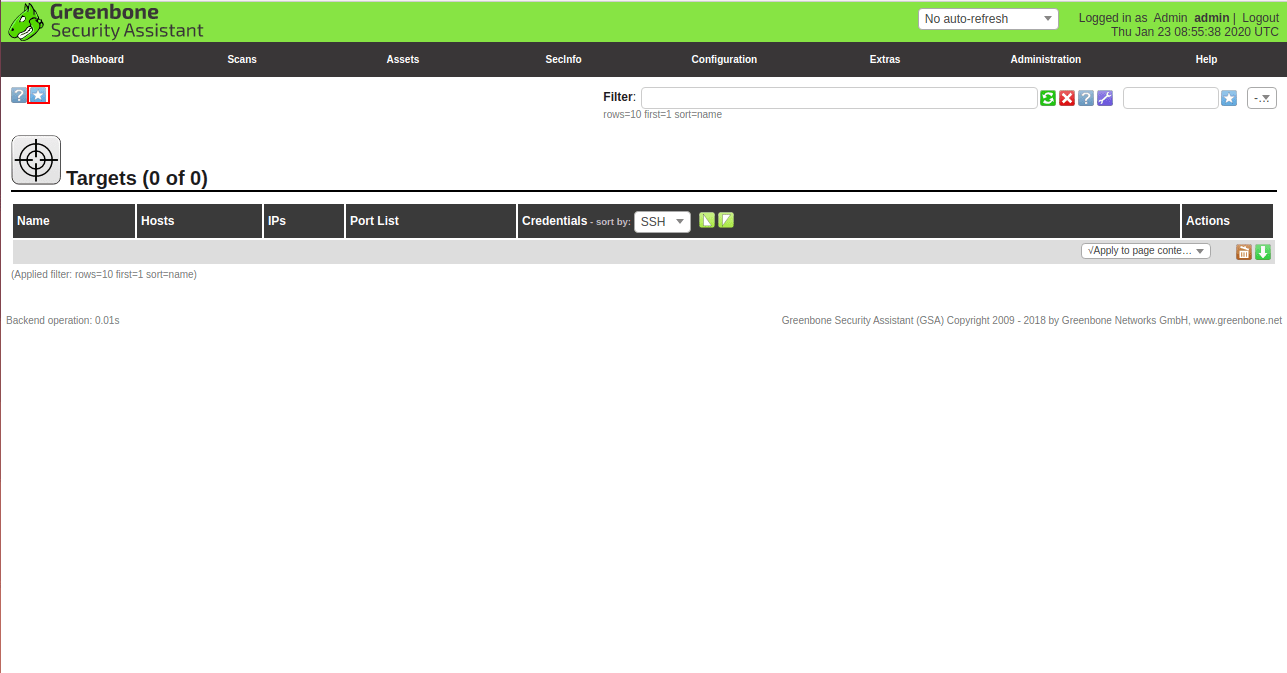
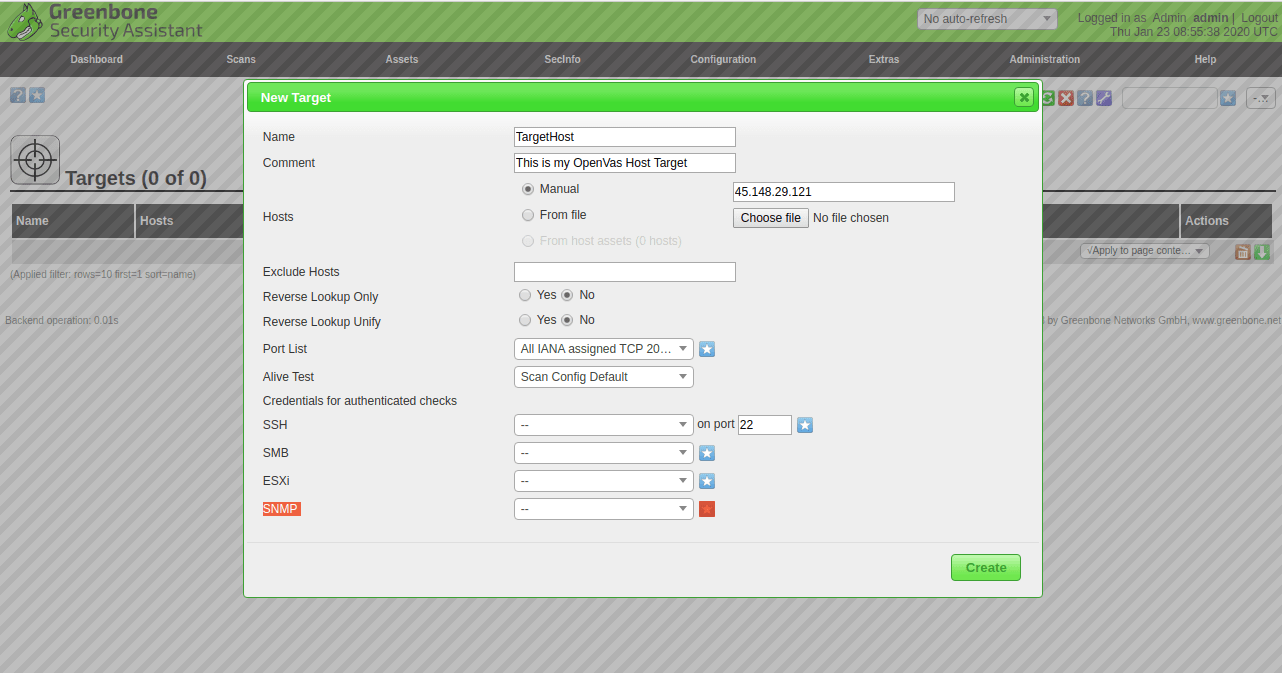
Now, click on the * Icon to create a new target as shown below:
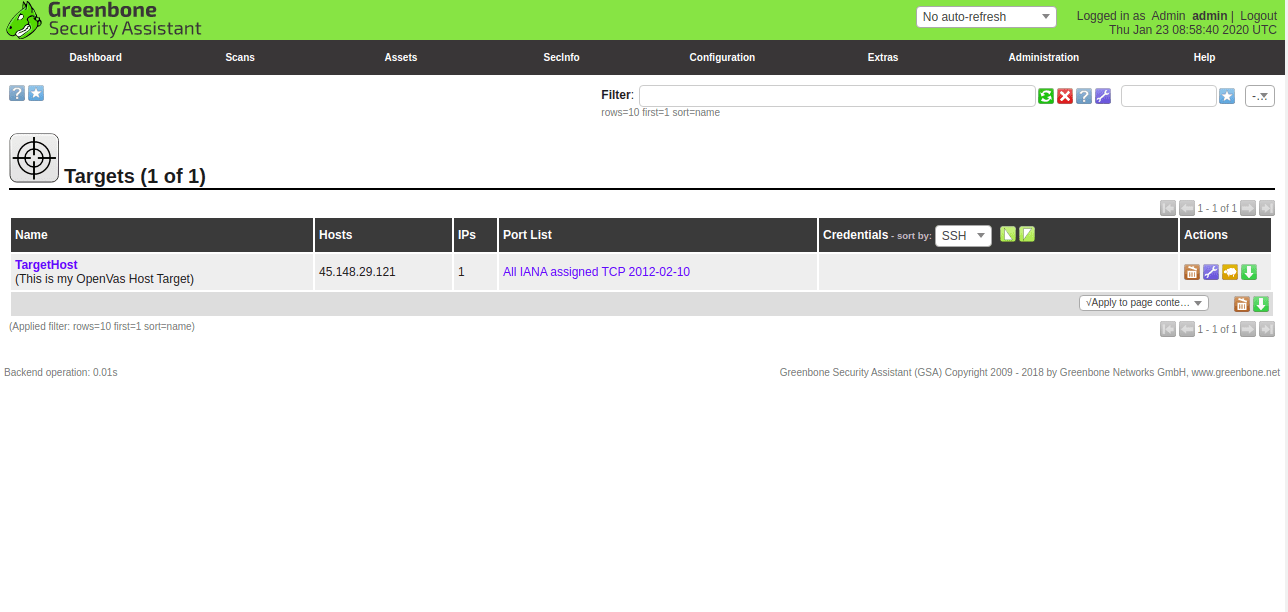
Provide all the required details and click on the Create button to create the target. Once the target is created you should see the following page:
After creating Target, you will need to create a new scan task.
To create a scan task, click on the Scan => Tasks. You should see the following page: 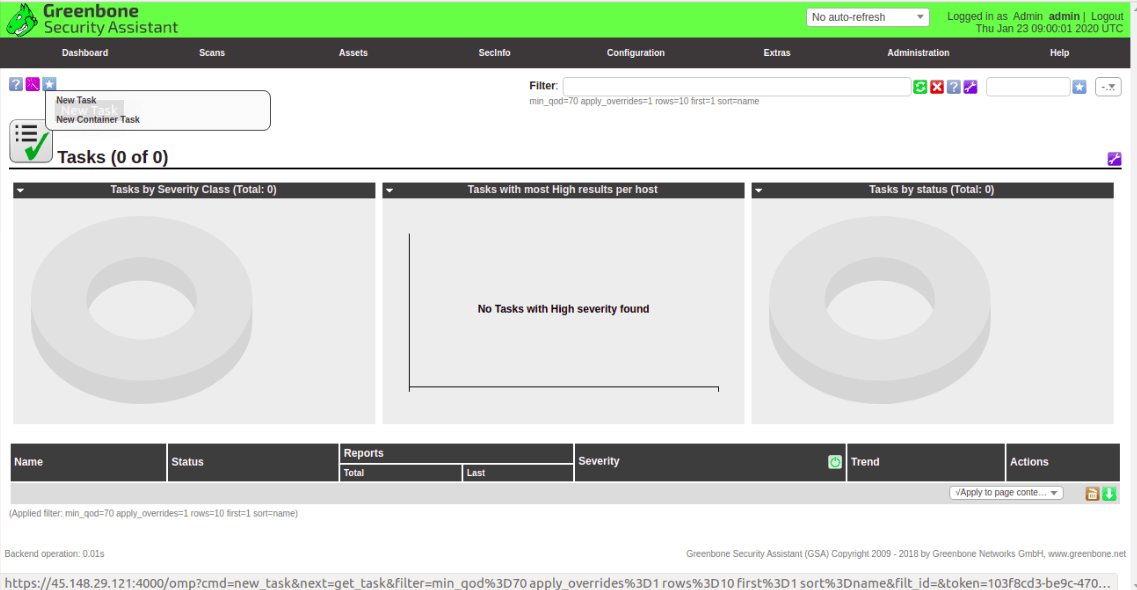
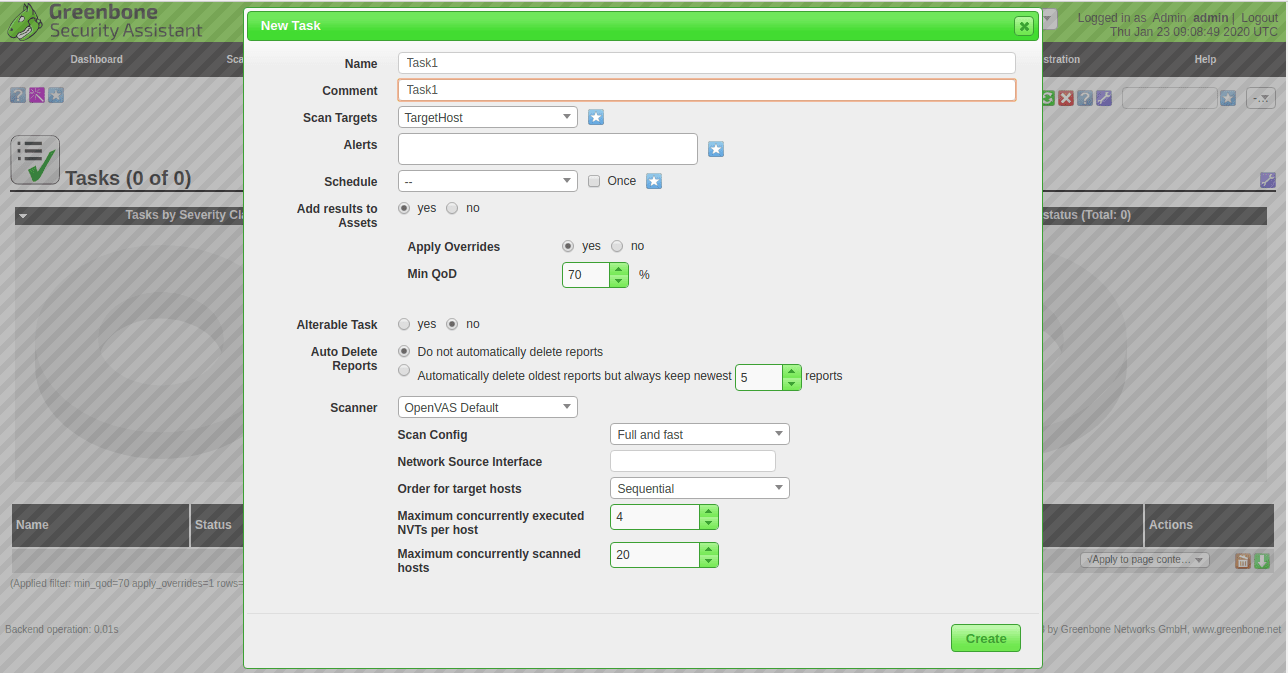
Now, click on the * Icon => New Task button. You should see the following page:
Provide all the required details and click on the Create button to create the Task as shown below:
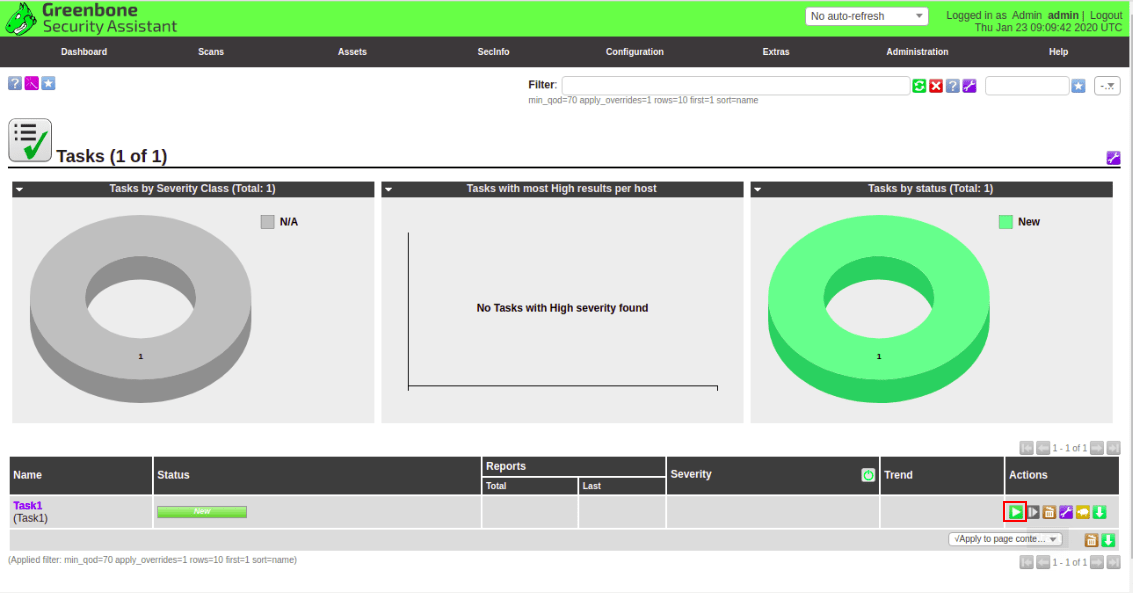 Now, you will need to run the scans against a target. Click on the green play button under the actions field to run the scans. Once the scans completed successfully, you should see the following page:
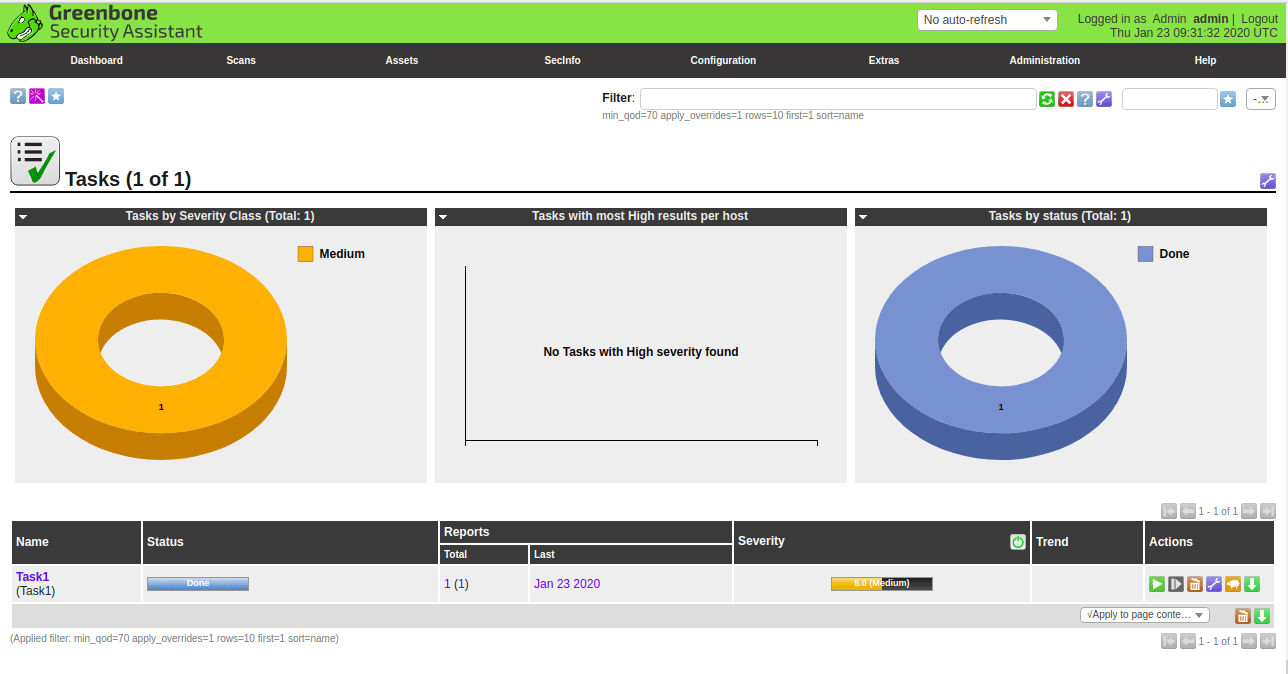
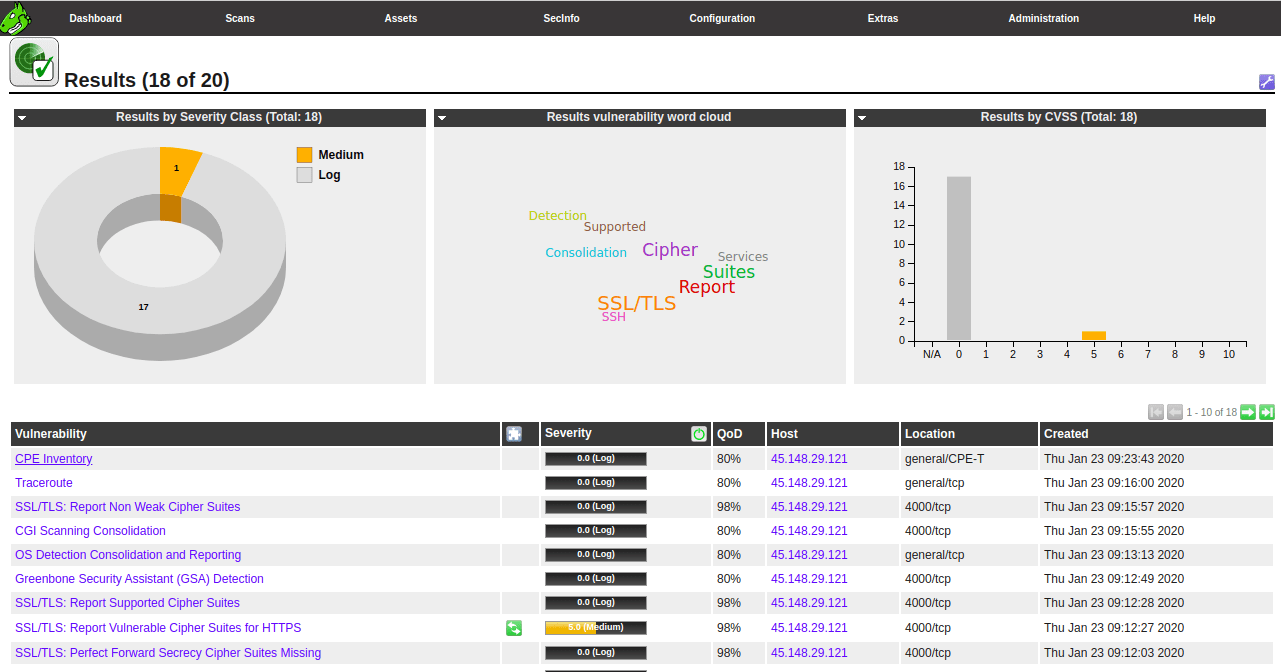
Now, click on the Scans => Result button. You can see the result of the completed scanning task in the following page:
Conclusion
Congratulations! you have successfully installed OpenVAS and perform a vulnerability test against your local system on Ubuntu 18.04 server. You can now add network a target and find the vulnerability of the remote system.