How to Install and Setup WordPress on Linux
WordPress is one of the best content management systems (CMS) available. If you do not wish to go through the complicated process of setting up a website from scratch, WordPress will be your best choice.
Wordpress Hosting
Most WordPress hosting services provide a one-click process for setting up WordPress. However, in this article, we are going to look at setting up WordPress on Linux, using a Virtual Private Server (VPS). These are physical servers, which are distributed virtually among a limited number of users. This is a more reliable option as server resources are dedicated to your account. Security is also better as the operating system is separate for each user.
We recommend https://www.bluehost.com/hosting/vps as their plans start at $19.99 per month with great specifications.
The next step consists of installing and configuring a Linux, Apache, MySQL, and PHP which are commonly called a LAMP stack, and setting up WordPress.
Installing and configuring LAMP
VPS environments come pre-installed with various distributions of Linux such as Ubuntu or Linux Mint. The instructions in this article will work with all of them.
We assume that you have at least basic knowledge regarding Linux and its command line. This is an essential prerequisite to complete the rest of the steps. It is also important that you are familiar with editors such as Vim as the server will not have a Graphical User Interface and all actions have to be performed through the command line.
Installing Apache Web Server

Apache is one of the most popular options for a web container, which can be used to host a website and serve HTTP requests.
Issue the following command in the command line to update the server:
$ sudo apt-get update
Next, issue this command to install Apache.
$ sudo apt-get install apache2 apache2-utils
The following commands will cause Apache to start when the server starts-up and start the service for the first time:
$ sudo systemctl enable apache2
$ sudo systemctl start apache2
If the installation has happened successfully, the Apache server will be accessible through a browser by typing in your domain name or IP address: https://example-domain.com
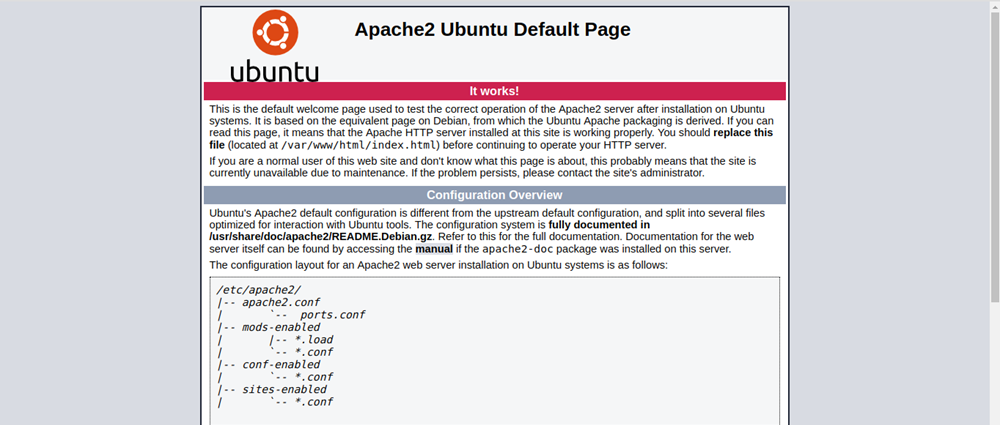
Refer to the official documentation for Apache at http://httpd.apache.org/docs/current/install.html if you come across any problems during installation.
All your website related files will be stored in the /var/www/html sub-directory of the root directory.
Installing the MySQL Database Server

The MySQL database server will be used to create a database for our website. It will contain all WordPress related data and blog posts.
Continue to issue the following commands to install and configure the latest version of MySQL:
$ sudo apt-get install mysql-server
Next, issue the following command to enable security settings, including adding a password for the root user account. This is the primary user account for accessing the database.
$ sudo mysql_secure_installation utility
Given that the application is also on the same server, we strongly recommend that you do not enable remote access for the root user. This will help to avoid most external attacks.
The following commands will cause MySQL to start when the server starts-up and start the service for the first time:
$ sudo systemctl enable mysql
$ sudo systemctl start mysql
MariaDB is an alternative to MySQL and can be installed with the following command:
$ sudo apt-get install mariadb-server mariadb-client
Refer to the official documentation for MySQL at https://dev.mysql.com/doc/ if you come across any problems during installation.
Create the Database
Let’s create a database for your website. Issue the following command to enter the MySQL Shell:
$ mysql -u root -p
You will then be prompted to enter the password of the root user account. This is the password that was added at the time of installing MySQL.
Once the MySQL Shell starts, issue the following commands followed by pressing enter, to create the database. Ensure to replace database_name and root_password with values that were created earlier.
mysql> CREATE DATABASE database_name;
mysql> GRANT ALL PRIVILEGES ON database_name.* TO 'root'@'localhost' IDENTIFIED BY 'root_password ';
mysql> FLUSH PRIVILEGES;
mysql> EXIT;
This will create the database and set the required permissions for the root user. Check how to show mysql databases. The last command will exit the MySQL Shell.
Install and configure PHP
PHP is the scripting language required for WordPress to work on your server. Issue the following command in the command line to install PHP 7 and some modules that are required for our website.
$ sudo apt-get install php7.0 php7.0-mysql libapache2-mod-php7.0 php7.0-cli php7.0-cgi php7.0-gd
Next, let’s create a sample file to verify that our PHP installation is successful.
$ sudo vi /var/www/html/info.php
This will open a new file named “info.php” in the Vi editor. Paste in the following, save it and close the file.
<?php
phpinfo();
?>
If you come across any problems during installation, refer to the official documentation at https://www.php.net/manual/en/install.unix.apache2.php
Now open a browser and go to the address https://example-domain.com/info.php
If the installation was successful, the following page will be displayed:
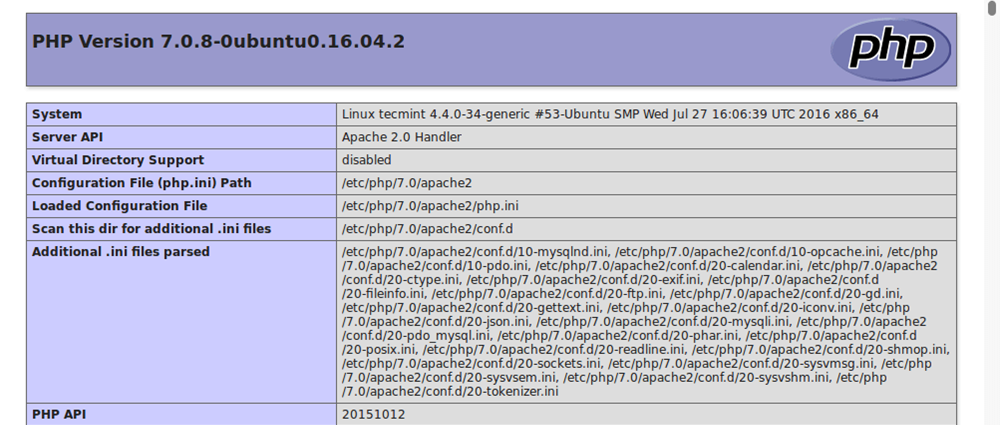
This page confirms that our LAMP stack is set up successfully.
Install WordPress CMS
Issue the following commands in the command line to download and extract the latest version of WordPress.
$ wget -c http://wordpress.org/latest.tar.gz
$ tar -xzvf latest.tar.gz
$ sudo rsync -av wordpress/* /var/www/html/
The last command moves the extracted file to the Apache root directory: /var/www/html/
Next, set the permissions to the website directory, giving the webserver ownership of the WordPress files.
$ sudo chown -R www-data:www-data /var/www/html/
$ sudo chmod -R 755 /var/www/html/
Move to the /var/www/html/ directory in the command line and rename the wp-config-sample.php file to “wp-config.php”.
$ sudo mv wp-config-sample.php wp-config.php
Now open the renamed file in your favorite editor and update the information regarding the database that was created earlier. Ensure to use the correct values for database_name and root_password. Checkout how to enable autocomplete for mysql.
// ** MySQL settings - You can get this info from your web host ** //
/** The name of the database for WordPress */
define('DB_NAME', 'database_name'); /** MySQL database username */ define('DB_USER', 'root'); /** MySQL database password */ define('DB_PASSWORD', 'root_password'); /** MySQL hostname */ define('DB_HOST', 'localhost'); /** Database Charset to use in creating database tables. */ define('DB_CHARSET', 'utf8'); /** The Database Collate type. Don't change this if in doubt. */ define('DB_COLLATE', '');
Now that all the configurations are complete, issue the following commands to restart the Apache and MySQL services:
$ sudo systemctl restart apache2.service
$ sudo systemctl restart mysql.service
Visit https://example-domain.com to verify that the installation and configuration are successful. The following page should be displayed if everything went well.
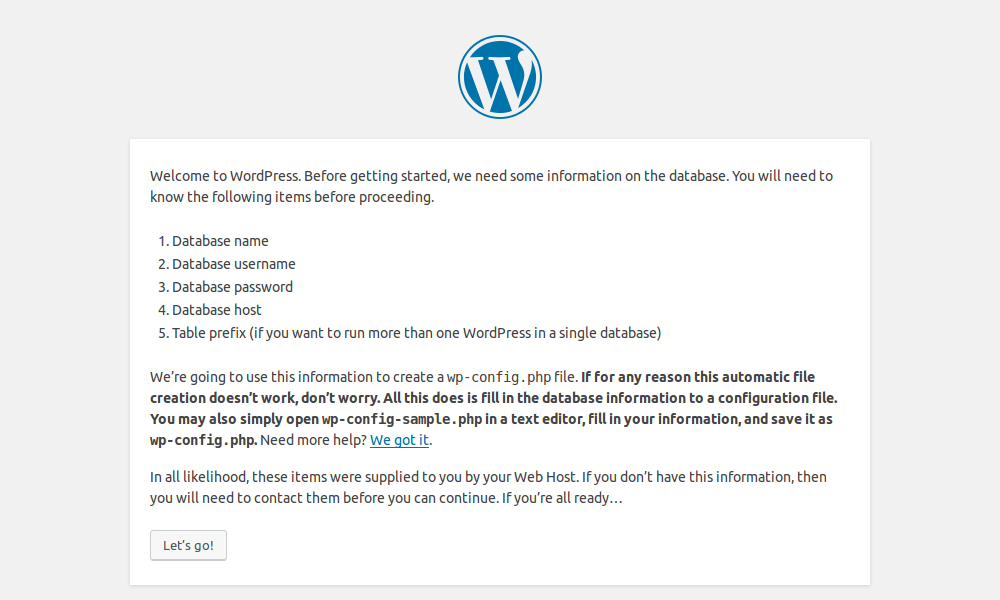
Click “Let’s go!” to continue setting up your WordPress site.
Conclusion
The process of setting up WordPress on Linux is a bit more complicated than setting it up directly on a WordPress hosting service. However, it will give you a lot more control over your resources and the configuration of the website.
The benefits offered by a VPS add even more value to the mix!