How to Install Naxsi Firewall with Nginx on Ubuntu 18.04
NAXSI stands for "Nginx Anti XSS and SQL injection" is a free and open-source web application firewall specially designed for Nginx. It is used to protect your Nginx web server against different types of attacks including, Local & Remote file inclusions, SQL Injections, Cross Site Scripting and Cross Site Request Forgery. Comparing other firewalls, Naxsi requires minimal memory, processing and does not rely upon signatures to detect and block attacks. Naxsi works by detecting unexpected characters in the HTTP requests and block them when the request reaches a critical score.
In this tutorial, we will show you how to install the Naxsi firewall on Ubuntu 18.04 server.
Requirements
- A server running Ubuntu 18.04.
- A root password is configured on your server.
Getting Started
Before starting, it is recommended to update your system's package with the latest version. You can do it by running the following command:
apt-get update -y
apt-get upgrade -y
Once your server is updated, restart it to apply the changes.
Next, you will need to install some dependencies required to compile the Nginx from the source. You can install all the required dependencies with the following command:
apt-get install build-essential daemon libxml2-dev libxslt1-dev libgd-dev libgeoip-dev make libpcre3-dev libssl-dev unzip -y
Once all the packages are installed, you can proceed to the next step.
Compile Nginx with Naxsi Support
By default, the Naxsi package is now available in the Ubuntu 18.04 default repository. So you will need to compile the Nginx with Naxsi support.
First, download the Nginx source with the following command:
wget http://nginx.org/download/nginx-1.16.1.tar.gz
Once downloaded, extract the downloaded file with the following command:
tar -xvzf nginx-1.16.1.tar.gz
Next, download the Naxsi source with the following command:
wget https://github.com/nbs-system/naxsi/archive/master.zip
Once downloaded, unzip the downloaded file with the following command:
unzip master.zip
Next, change the directory to the Nginx source with the following command:
cd nginx-1.16.1/
Next, configure the Nginx with Naxsi support by running the following command:
./configure --conf-path=/etc/nginx/nginx.conf --add-module=../naxsi-master/naxsi_src/ --error-log-path=/var/log/nginx/error.log --http-client-body-temp-path=/var/lib/nginx/body --http-fastcgi-temp-path=/var/lib/nginx/fastcgi --http-log-path=/var/log/nginx/access.log --http-proxy-temp-path=/var/lib/nginx/proxy --lock-path=/var/lock/nginx.lock --pid-path=/var/run/nginx.pid --user=www-data --group=www-data --with-http_ssl_module --without-mail_pop3_module --without-mail_smtp_module --without-mail_imap_module --without-http_uwsgi_module --without-http_scgi_module --prefix=/usr
After the successful configuration, you should see the following screen: 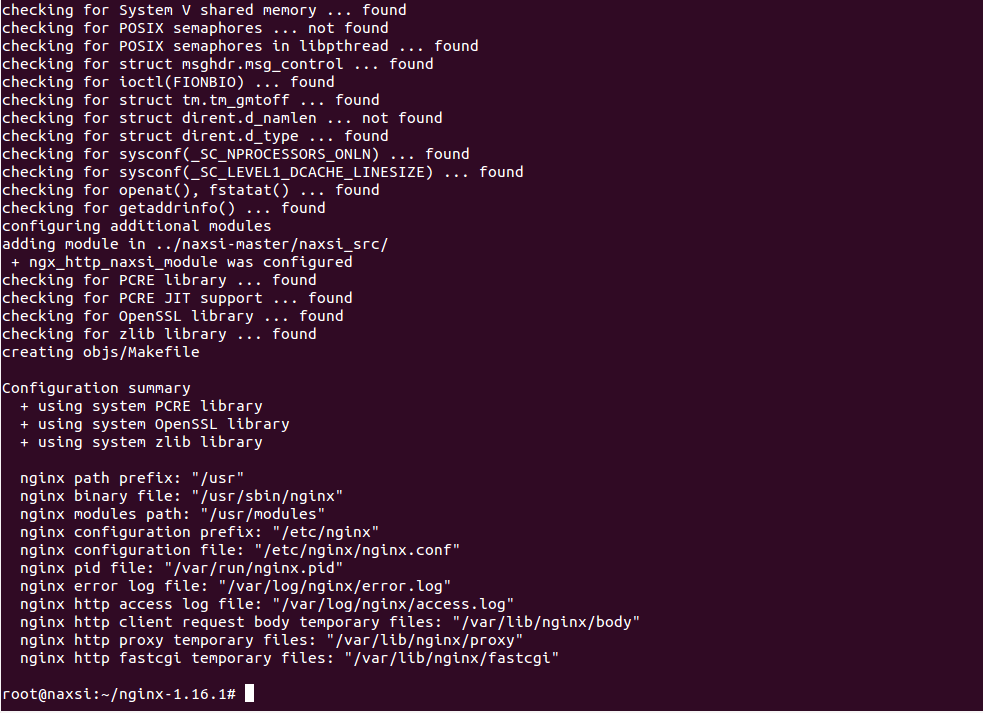
Next, run the following command to compile the Nginx:
make
Next, run the following command to install the Nginx:
make install
Once the installation has been completed successfully, you should see the following screen: 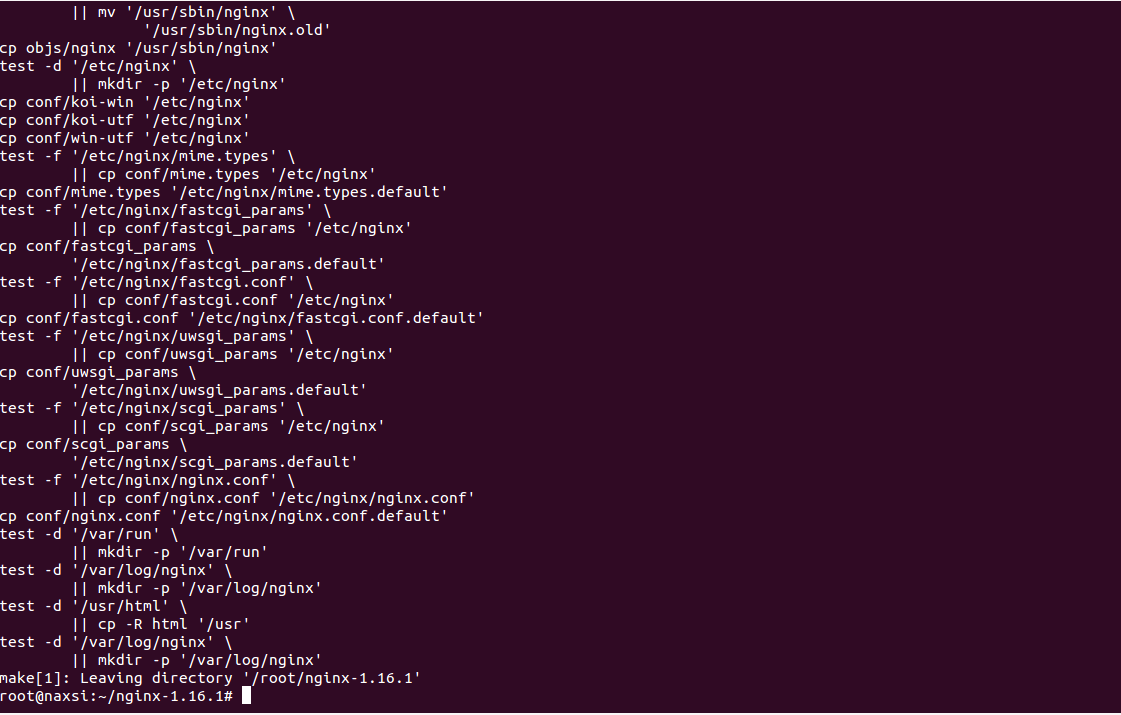
Next, you will need to create directories for Nginx dynamic data libraries. You can create them with the following command:
mkdir /var/lib/nginx/body
mkdir /var/lib/nginx/fastcgi
At this point, Nginx is configured with Naxsi support. You can now proceed to the next step.
Configure Naxsi Rules
Next, you will need to copy Naxsi core rules to the Nginx configuration directory. You can copy it from the Naxsi source as shown below:
cp /root/naxsi-master/naxsi_config/naxsi_core.rules /etc/nginx/
Next, create a naxsi.rules file inside the /etc/nginx/ directory and assign actions for the server to take when a URL request does not satisfy the core rules.
You can create the file with the following command:
nano /etc/nginx/naxsi.rules
Add the following liens:
SecRulesEnabled;
DeniedUrl "/RequestDenied";

## Check Naxsi rules
CheckRule "$SQL >= 8" BLOCK;
CheckRule "$RFI >= 8" BLOCK;
CheckRule "$TRAVERSAL >= 4" BLOCK;
CheckRule "$EVADE >= 4" BLOCK;
CheckRule "$XSS >= 8" BLOCK;
Save and close the file when you are finished.
The above file will be used to check to requested URL and block them as per the matching score.
Configure Nginx with Naxsi Support
Next, you will need to configure Nginx default configuration file with Naxsi support. To do so, we will edit the Nginx configuration file and add the NAXSI configuration files.
Open the Nginx default configuration file as shown below:
nano /etc/nginx/nginx.conf
Change the lines highlighted with green colors:
user www-data;
worker_processes 1;
events {
   worker_connections 1024;
}

http {
   include      mime.types;
   include /etc/nginx/naxsi_core.rules;
   include /etc/nginx/conf.d/*.conf;
   include /etc/nginx/sites-enabled/*;

   default_type application/octet-stream;
   access_log /var/log/nginx/access.log;
   error_log /var/log/nginx/error.log;
   sendfile       on;
   keepalive_timeout 65;
   server {
       listen      80;
       server_name localhost;
       location / {
           root  html;
           include /etc/nginx/naxsi.rules;

           index index.html index.htm;
       }
       error_page  500 502 503 504 /50x.html;
       location = /50x.html {
           root  html;
       }
   }
}
Save and close the file when you are finished. Then, check the Nginx for any syntax error with the following command:
nginx -t
If everything is fine, you should get the following output:
nginx: the configuration file /etc/nginx/nginx.conf syntax is ok
nginx: configuration file /etc/nginx/nginx.conf test is successful
Create Nginx Systemd Service File
Next, you will need to create the Nginx systemd service file to manage the Nginx service. You can create it with the following command:
nano /lib/systemd/system/nginx.service
Add the following lines:
 [Unit]
Description=A high performance web server and a reverse proxy server
Documentation=man:nginx(8)
After=syslog.target network.target remote-fs.target nss-lookup.target

[Service]
Type=forking
PIDFile=/run/nginx.pid
ExecStartPre=/usr/sbin/nginx -t
ExecStart=/usr/sbin/nginx
ExecReload=/usr/sbin/nginx -s reload
ExecStop=/bin/kill -s QUIT $MAINPID
PrivateTmp=true

[Install]
WantedBy=multi-user.target
Save and close the file when you are finished. Then, reload the systemd daemon with the following command:
systemctl daemon-reload
Next, start the Nginx service and enable it to start after system reboot:
systemctl start nginx
systemctl enable nginx
You can now check the status of the Nginx service with the following command:
systemctl status nginx
You should get the following output:
nginx.service - A high performance web server and a reverse proxy server
 Loaded: loaded (/lib/systemd/system/nginx.service; disabled; vendor preset: enabled)
 Active: active (running) since Sun 2020-01-26 15:45:29 UTC; 6s ago
    Docs: man:nginx(8)
 Process: 14905 ExecStart=/usr/sbin/nginx (code=exited, status=0/SUCCESS)
 Process: 14892 ExecStartPre=/usr/sbin/nginx -t (code=exited, status=0/SUCCESS)
 Main PID: 14906 (nginx)
   Tasks: 2 (limit: 2359)
  CGroup: /system.slice/nginx.service
          ├─14906 nginx: master process /usr/sbin/nginx
          └─14907 nginx: worker process

Jan 26 15:45:29 naxsi systemd[1]: Starting A high performance web server and a reverse proxy server...
Jan 26 15:45:29 naxsi nginx[14892]: nginx: the configuration file /etc/nginx/nginx.conf syntax is ok
Jan 26 15:45:29 naxsi nginx[14892]: nginx: configuration file /etc/nginx/nginx.conf test is successful
Jan 26 15:45:29 naxsi systemd[1]: Started A high performance web server and a reverse proxy server.
You can also check the Nginx with loaded modules as shown below:
nginx -V
You should get the following output:
nginx version: nginx/1.16.1
built by gcc 7.4.0 (Ubuntu 7.4.0-1ubuntu1~18.04.1)
built with OpenSSL 1.1.1 11 Sep 2018
TLS SNI support enabled
configure arguments: --conf-path=/etc/nginx/nginx.conf --add-module=../naxsi-master/naxsi_src/ --error-log-path=/var/log/nginx/error.log --http-client-body-temp-path=/var/lib/nginx/body --http-fastcgi-temp-path=/var/lib/nginx/fastcgi --http-log-path=/var/log/nginx/access.log --http-proxy-temp-path=/var/lib/nginx/proxy --lock-path=/var/lock/nginx.lock --pid-path=/var/run/nginx.pid --user=www-data --group=www-data --with-http_ssl_module --without-mail_pop3_module --without-mail_smtp_module --without-mail_imap_module --without-http_uwsgi_module --without-http_scgi_module --prefix=/usr
Check Naxsi Firewall
At this point, Nginx is configured with the Naxsi firewall. It's time to test the Nginx web server against several attacks and verify whether the Naxsi can block the attacks or not.
To do so, go to the remote system, open the web browser and type the URL http://your-server-ip/?a=<. You will be blocked by Naxsi.
You can check the Nginx error log with the following command:
tail -f /var/log/nginx/error.log
You should see your request blocked by Naxsi in the following log:
2020/01/26 15:59:08 [error] 14907#0: *13 NAXSI_FMT: ip=103.250.161.100&server=208.117.84.142&uri=/&vers=0.56&total_processed=11&total_blocked=7&config=block&cscore0=$XSS&score0=8&zone0=ARGS&id0=1302&var_name0=a, client: 103.250.161.100, server: localhost, request: "GET /?a=%3C HTTP/1.1", host: "208.117.84.142"
To check the Naxsi against XSS attacks, go to the remote system, open the web browser and type the URL http://your-server-ip/?q="><script>alert(1)</script>. You will be blocked by Naxsi.
You can check the Nginx error log with the following command:
tail -f /var/log/nginx/error.log
You should see your request blocked by Naxsi in the following log:
2020/01/26 15:53:26 [error] 14907#0: *7 NAXSI_FMT: ip=103.250.161.100&server=208.117.84.142&uri=/&vers=0.56&total_processed=7&total_blocked=4&config=block&cscore0=$SQL&score0=8&cscore1=$XSS&score1=8&zone0=ARGS&id0=1001&var_name0=q, client: 103.250.161.100, server: localhost, request: "GET /?q=%22%3E%3Cscript%3Ealert(1)%3C/script%3E HTTP/1.1", host: "208.117.84.142"
Conclusion
Congratulations! you have successfully installed and configured the Naxsi firewall with Nginx. Your server is now fully protected from the different kinds of attacks.
Related Topics:
Openvas Download Install OpenVas