What is https and How to enable https on your website
http is Hyper Text Transfer Protocol. Communication between client computers and web servers happen through sending http request and then receiving http response. https is Hyper Text Transfer Protocol secured. That means information which goes back and forth between client computers and web servers through the browser is encrypted and therefore secure. https is combination of both http and ssl (secure socket layer).
Why do you need https
https is needed to make sure the website is secure and transmission of data from server to client or user and vice versa can't not be hacked and decoded easily. To make https work, https should be enabled on both client which is generally browser and server side. Most of the modern browsers such FireFox, Chrome, Opera, Internet Explorer these days support https.
How do you enable https on server side
Enabling https on server side is not that hard. I will talk about enabling https on nginx in this post.
How to enable https on nginx
Assuming you have already nginx installed running. If not then here are quick steps to install nginx...
On Centos
sudo yum -y install nginx
On Ubuntu
sudo apt-get install nginx
Once you have the nginx installed, do following...
service nginx restart
You can check the status to see if it is running fine...
service nginx status
You should see something like this after running the status
Active: active (running) since Sun 2019-11-24 18:48:15 EST; 3s ago
The first step in enabling https is that you generate self-signed certificate. To do that use following command...
sudo openssl req -x509 -nodes -days 365 -newkey rsa:2048 -keyout /etc/ssl/private/nginx-selfsigned.key -out /etc/ssl/certs/nginx-selfsigned.crt
If you see following error...
/etc/ssl/private/nginx-selfsigned.key: No such file or directory, that means directory is missing /etc/ssl/private/. Please make the directory and try again
mkdir -p /etc/ssl/private/
You will be prompted to fill the country name, state name etc. You can fill out that information or leave it empty.
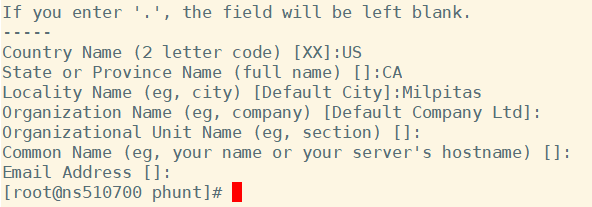
After this you will see a file created at /etc/ssl/private/nginx-selfsigned.key
Now we need to configure NGINX to use SSL. First, create a new configuration file with the command:
sudo touch /etc/nginx/self-signed.conf
Add the following content in the above file
ssl_certificate /etc/ssl/certs/nginx-selfsigned.crt;
ssl_certificate_key /etc/ssl/private/nginx-selfsigned.key;
Save and close that file.
We also need to create another configuration file. Lets create the file first...
sudo touch /etc/nginx/ssl-params.conf
Add the following to above file
ssl_protocols TLSv1.2;
ssl_prefer_server_ciphers on;
ssl_dhparam /etc/ssl/certs/dhparam.pem;
ssl_ciphers ECDHE-RSA-AES256-GCM-SHA512:DHE-RSA-AES256-GCM-SHA512:ECDHE-RSA-AES256-GCM-SHA384:DHE-RSA-AES256-GCM-SHA384:ECDHE-RSA-AES256-SHA384;
ssl_ecdh_curve secp384r1;
ssl_session_timeout 10m;
ssl_session_cache shared:SSL:10m;
ssl_session_tickets off;
resolver 8.8.8.8 8.8.4.4 valid=300s;
resolver_timeout 5s;
add_header X-Frame-Options DENY;
add_header X-Content-Type-Options nosniff;
add_header X-XSS-Protection "1; mode=block";
Save the above file.
Second last step is to generate .pem file. Run following command...
sudo openssl dhparam -out /etc/ssl/certs/dhparam.pem 2048
Now the last step is to edit the conf file in the nginx directory. Generally it is under /etc/nginx/conf.d/
In that file, edit it to reflect the following:
server {
  server_name example.com www.example.com;
  listen 443 ssl;
  listen [::]:443 ssl;
  include self-signed.conf;
  include ssl-params.conf;

  root /var/www/example.com/html;
  index index.html index.htm index.nginx-debian.html;

}
We also need to add another server block where would redirect http to https. Add the following to same conf file...
server {
  server_name example.com www.example.com;
  listen 80;
  listen [::]:80;
  return 302 https://$server_name$request_uri;
}
Now just restart the nginx server
service nginx restart
And check the status using
service nginx status
Check if https is enabled with the following command...
sudo ufw app list
Ok to enable Full https, you need to enable https on your DNS server side too that could be GoDadday, Dynadot, Cloudflare etc. If you are using Cloudflare to manage your DNS name servers, then it is very easy to enable https. Lets see how...
How to enable https on Cloudflare
Assuming you are already using Cloudflare's DNS servers.
Do following...
- Login to your Cloudflare account and select your website from left drop down menu
- Click Page Rules from the dashboard at the top.
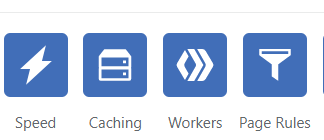
- Click on the Page Rule at the right as shown below...

- Enter the following information as shown below
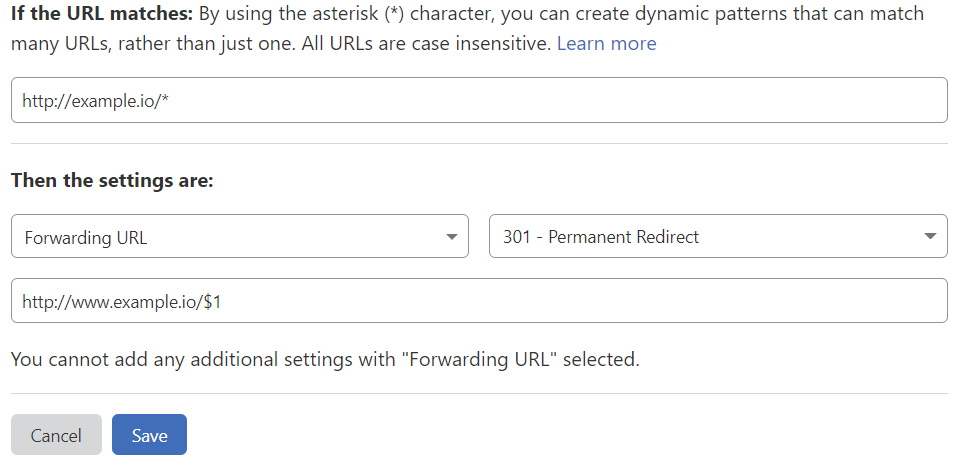
- Here example.io is the domain name of your website. We are redirecting http://exampe.io/* all urls to http://www. We need to add one more rule which is shown below...
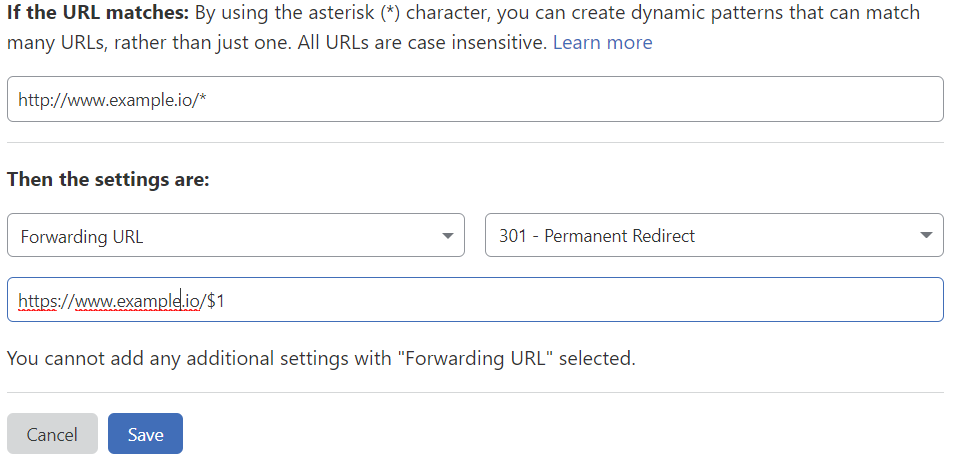
- In above rule we are redirecting http to https. Now Save the above rule.
That's it. You would see now that anytime you go to URL of your website. It will always be redirected to URL https://www.yourwebsite.com
Related Topics:
How to fix firewall-cmd: command not found
firewall-cmd add service firewall-cmd add port firewall-cmd remove port